
To finish the front brake system I had to find a master cylinder and a caliper for it. Flat brake disc design doesn't allow much space near the wheel spokes so multi piston calipers with pistons on both sides were out of the question. I ended up going with front brake parts from a 1991 Kawasaki KX80. Master cylinder has 11 mm bore and brake caliper 30 mm bore.
Both front master cylinder and brake caliper required refurbishing. After disassembling both of them I stripped black paint out of master cylinder with paint stripper and soda blasted both of them. Aluminum pieces got a quick polish. I bought a new lever made by Motion Pro (#14-9318) and a rebuild kit made by ProX (#37.910001) for the master cylinder. I replaced old fasteners with DIN 912 hexagon socket head cap screws where I could. For the brake caliper I bought standard brake pads made by EBC Brakes (#SFA083) and sealing kit made by TourmaX (#ACK-451). Assembly vaseline delivered with the sealing kit turned out handy when putting both assemblies together and avoiding scratching new seals.
 |
| Polished front master cylinder parts |
 |
| Parts of master cylinder rebuild kit |
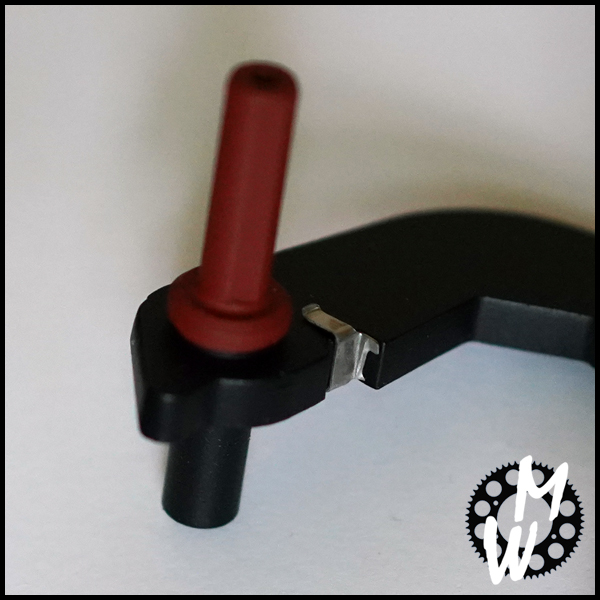
 |
| Details |
 |
| Parts of master cylinder rebuild kit |
 |
| Piston and new spring and seals |
 |
| Piston assembled |
 |
| Washer, stopper and cover seal for piston |
 |
| Front brake lever |
 |
| Black oxide fasteners replaced with zinc plated |
 |
| Fasteners and return spring for front brake lever |
 |
| Holder and fasteners M6x20 DIN 912 |
 |
| Diaphragm, cap and fasteners |
 |
| Front brake caliper polished |
 |
| Brake caliper sealing kit and pads |
 |
| Piston, breather, spring and parts from brake caliper sealing kit |
 |
| New parts installed to front brake caliper |
 |
| Welding assembly of front brake caliper bracket |
 |
| Dimensions for plate |
 |
| Dimensions for pins |
| Dimensions for spacers |
 |
| Parts of front brake caliper bracket |
 |
| Welding instructions |
| Welds of spacers |
 |
| Welds of pins |
 |
| Front brake caliper bracket painted with primer and matte black |
 |
| Guide on one side |
 |
| Bracket and pads installed to front brake caliper |
 |
| Other side |
 |
| Hexagon socket head cap screws M10x45 DIN 912 |
| Dimensions for spacers |
| Spacers, 10x22x4 |
 |
| Specifications of custom brake hose |
 |
| Stainless steel braided brake hose |
 |
| Close up of the straight fitting |
 |
| M10x1,25 banjo bolts and washers for brake hose |
 |
| Master cylinder |
 |
| Clamp for fixing brake hose to the bottom yoke |
 |
| Brake caliper |


